Sketching with markers is an exciting and dynamic way to bring your creative visions to life. Whether you’re a beginner or an experienced artist, improving your marker sketching skills can be both rewarding and enjoyable. Markers offer vibrant colors, clean lines, and a unique ability to blend that can take your sketches to the next level. In this article, we will provide practical tips and techniques to help you enhance your marker sketching skills and create impressive artwork.
1. Master the Basics of Marker Techniques
Before diving into complex projects, it’s essential to master some basic marker techniques. These fundamental skills will serve as the building blocks for your more advanced work. Here’s a look at a few techniques every marker artist should practice:
- Stippling: Stippling involves creating small dots to build texture and shading in your sketches. By layering dots closely together, you can achieve darker values, while spacing them out creates lighter areas. This technique works well for shading, creating depth, and giving your artwork a more organic, textured appearance.
- Cross-Hatching: This is a technique where you draw intersecting lines to build up shadows and textures. Cross-hatching allows for varying degrees of shading, and the more lines you add, the darker the areas will become. Practice using different angles and line densities to get the effect you want.
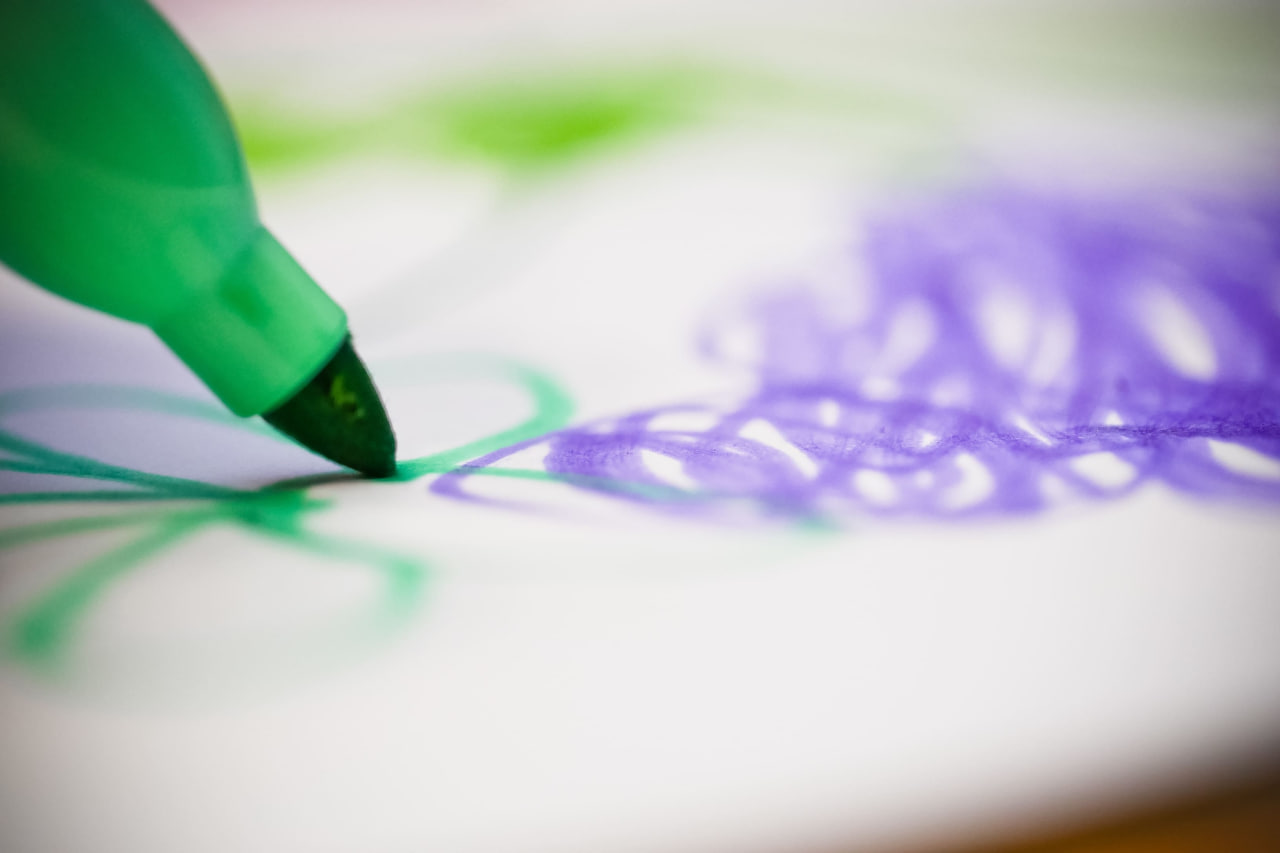
- Blending: Blending is one of the most important techniques in marker sketching, and it’s one of the features that sets markers apart from other mediums. To blend your markers, you can use an alcohol-based marker blending solution or a blending marker, which works especially well with alcohol markers. For water-based markers, blending with a water brush can give you soft transitions between colors. Practice layering colors and blending them together to create smooth gradients and soft transitions.
2. Use Layering for Depth and Dimension
Layering is a crucial technique in marker sketching that allows you to build depth and dimension in your artwork. Start with a light layer of color and gradually add more layers to deepen the shadows and highlights. This technique works well for achieving rich, saturated colors and realistic shading effects.
When layering with markers, be sure to allow each layer to dry before adding the next. This will prevent the markers from smudging and ensure that the colors stay vibrant and crisp. For smooth gradients, you can use a blending marker or a slightly lighter color to transition from one tone to the next.
3. Experiment with Different Paper Types
The type of paper you use plays a significant role in how your markers will perform. Marker paper is designed specifically to handle the ink without bleeding or feathering. It’s smooth, durable, and allows markers to glide effortlessly, which is ideal for sketching.
If you’re using markers on regular sketchbook paper, be aware that the paper may absorb the ink too quickly, causing the colors to appear more saturated or causing the ink to bleed through the page. Experiment with different types of paper to see how your markers behave, and choose the one that works best for your style and medium.
4. Understand Marker Color Theory
Knowing color theory can help you make the most of your markers and create more visually appealing sketches. By understanding the color wheel and how colors interact with one another, you can make informed decisions about your color choices and create harmonies or contrasts in your artwork.
- Complementary Colors: Complementary colors are pairs of colors that are opposite each other on the color wheel, such as blue and orange or red and green. Using complementary colors together can create vibrant contrasts and make specific elements of your artwork stand out.
- Analogous Colors: Analogous colors are colors that sit next to each other on the color wheel, such as red, orange, and yellow. These colors create a harmonious, unified feel when used together in your artwork.
- Monochromatic Scheme: A monochromatic color scheme involves using different shades of a single color. This can be a great way to create a subtle, cohesive look in your sketches.
5. Create Texture with Markers
Markers are versatile tools that allow you to experiment with different textures in your sketches. Whether you’re sketching landscapes, portraits, or still lifes, adding texture can make your artwork feel more dynamic and engaging.
Here are a few ways you can create texture with markers:
- Cross-Hatching: As mentioned earlier, cross-hatching is a great technique for creating texture and depth. Varying the direction and density of your lines can add texture to different elements of your sketch.
- Scumbling: Scumbling is a technique where you make circular, scribbled marks with your marker to create a rough, textured surface. This is perfect for representing things like rough surfaces, hair, or organic textures in nature.
- Feathering: Feathering involves applying short, light strokes to create soft textures that can mimic fur, fabric, or foliage. Use this technique to add lightness and softness to specific areas of your sketch.
6. Practice Consistent Strokes
One of the key components of successful marker sketching is mastering your strokes. Whether you’re drawing bold outlines, fine details, or sweeping backgrounds, your strokes should be consistent in pressure and direction.
Here’s a tip: try to keep your hand steady while sketching, and practice creating long, uninterrupted strokes. This will help you maintain smooth lines and avoid streaky or uneven applications of color.
If you’re using markers for detailed work, be mindful of how much pressure you’re applying to the tip. Too much pressure can result in bleeding or uneven ink flow, while too little pressure can leave weak marks on the paper.
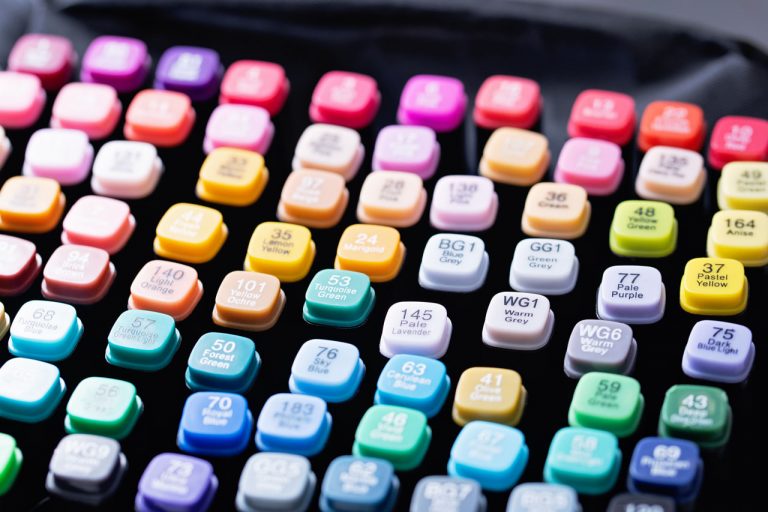
7. Try Different Marker Brands and Types
Not all markers are created equal. The quality and performance of your markers will greatly impact your sketching experience and the final result. Experiment with different brands and types of markers to find the ones that suit your style and needs.
Some markers, like Copic and Prismacolor, are known for their blendability and rich color range, making them favorites among professional sketch artists. On the other hand, brands like Tombow and Faber-Castell offer a wide variety of affordable markers for beginners.
By exploring different markers and materials, you’ll gain a deeper understanding of how different markers affect your artwork and how to use them to your advantage.
With consistent practice and a little experimentation, you’ll be able to refine your marker sketching skills and develop your unique artistic style. Whether you’re sketching for fun or working on a more complex project, these tips and techniques will help you enhance your skills and create artwork that stands out. Don’t be afraid to experiment with different approaches and tools, as every artist’s journey is different. Happy sketching!