One of the key skills to developing your marker sketching abilities is mastering blending techniques. Blending allows you to create smooth transitions between colors, add depth to your designs, and make your artwork feel more lifelike. While it can be a bit tricky at first, with practice, you can achieve professional-looking results. In this article, we will dive into some essential marker blending techniques that every artist should know to elevate their artwork.
Understanding Color Theory and Blending Basics
Before you dive into blending, it’s essential to understand the basics of color theory. Knowing how colors interact with each other can help you make better decisions when it comes to blending markers. Here are some tips:
- Complementary Colors: These are colors that sit opposite each other on the color wheel (e.g., blue and orange, red and green). Blending complementary colors can create striking contrasts and vibrant effects.
- Analogous Colors: These are colors that sit next to each other on the color wheel (e.g., blue, blue-green, and green). These colors naturally blend well and can create smooth, harmonious transitions.
- Shading: When blending, it’s important to understand where the light source is coming from. Darker colors tend to recede, while lighter colors appear to come forward. This understanding will help you add realistic shading to your artwork.
Techniques for Blending Markers
Now that you have a basic understanding of color theory, let’s dive into some practical blending techniques that will help you achieve smooth transitions and stunning effects.
- Wet-on-Wet Technique: This technique involves using two markers (one lighter and one darker) and blending them while the ink is still wet. Start by laying down a layer of your lighter color. While the ink is still fresh, apply your darker color and use a blending tool or a lighter marker to mix the two colors together. This creates a seamless transition between the shades.
- Layering: Layering is a fundamental technique when blending markers. Start by applying a light layer of color, then gradually add more layers of darker colors on top. This builds depth and allows the colors to blend together more naturally. Always allow the ink to dry between layers for better results.
- Colorless Blender: A colorless blender marker is a useful tool for smoothing out harsh lines and creating gradients. Apply the colorless blender over areas where you want to achieve a smoother transition or soften the lines. It works especially well when blending different shades of the same color or when you want to fade out one color into another.
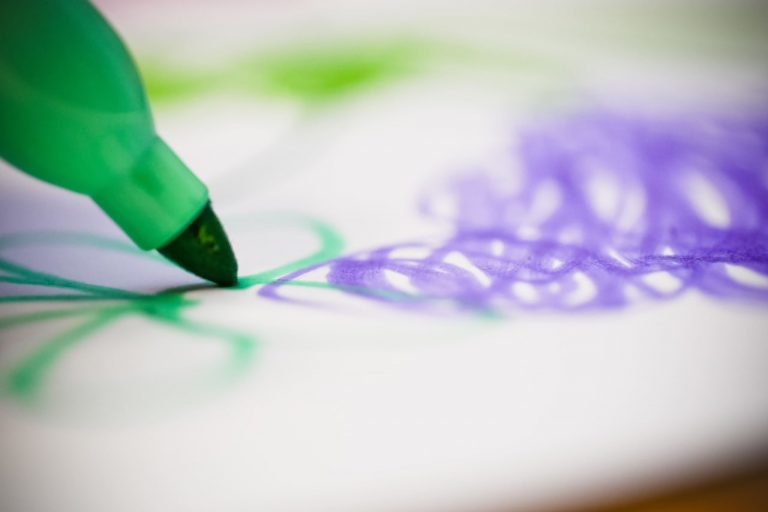
- Using a Lighter Shade for Blending: If you’re new to blending, a simple trick is to use a lighter shade of the color you’re working with to blend the darker tones. This can help prevent muddying and keep the overall look fresh. For example, if you’re working with blue and purple, use a light blue marker to blend the edges for a smooth gradient.
Tools for Perfect Blending
To achieve seamless blending, the right tools are essential. Here are some tools you’ll need for perfecting your blending technique:
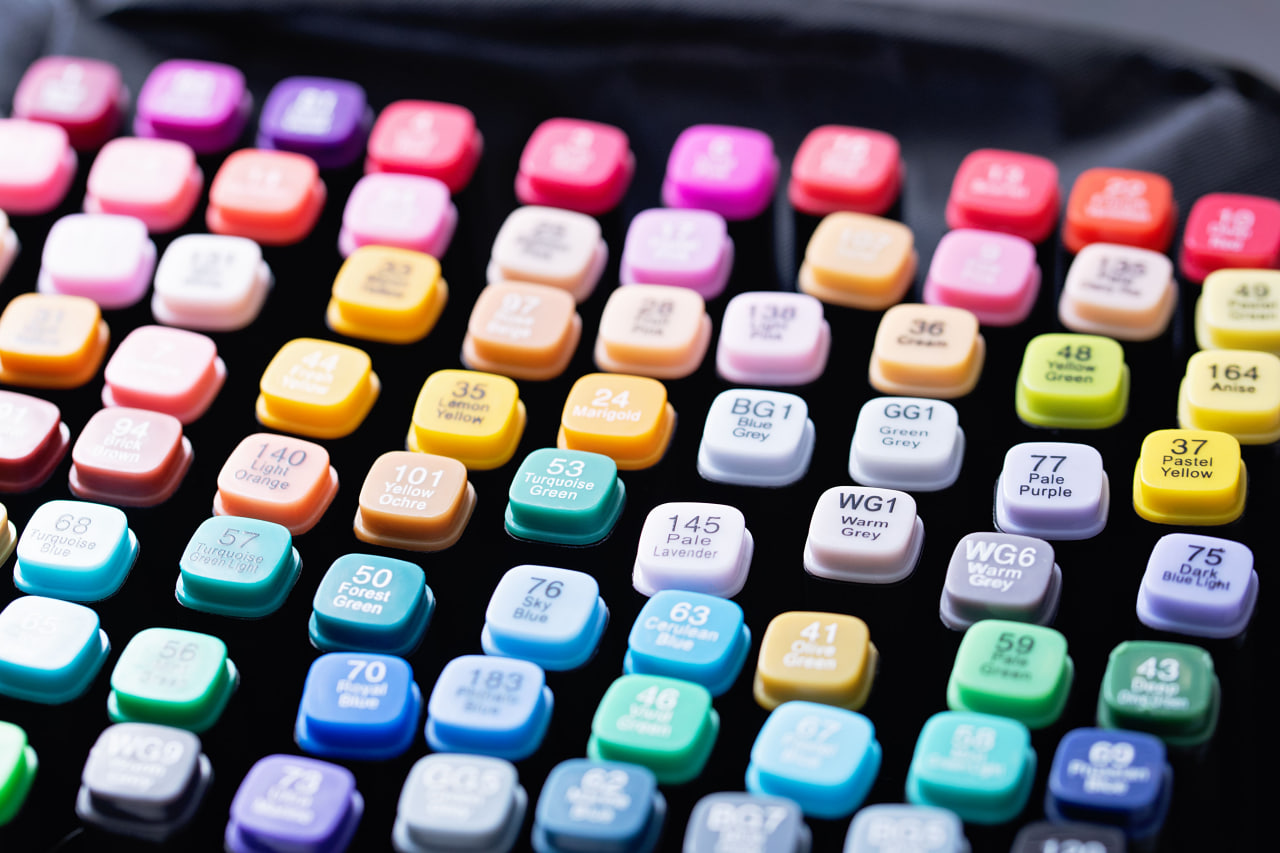
- Blending Markers: Many brands offer markers specifically designed for blending, including colorless blenders. These are great for smoothing out edges and making seamless transitions between colors.
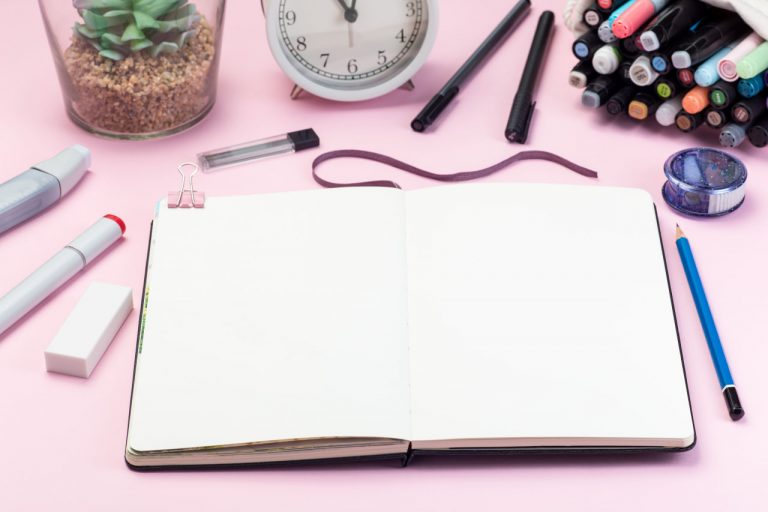
- Paper: A good quality, smooth paper will make blending much easier. If the paper texture is too rough, the ink won’t spread smoothly and could lead to uneven blending. Look for paper specifically made for markers, as it absorbs ink more efficiently.
- Blending Brushes or Sponges: Some artists use blending brushes or sponges to gently mix the colors together. These tools can help soften the edges of the ink and create a smoother transition between hues.
Practical Exercises to Improve Your Blending Skills
- Create a Gradient: Start by practicing gradients with two or three colors. Pick colors that blend well together, and experiment with creating smooth transitions. Focus on gradually blending the ink without leaving harsh lines.
- Practice Shading: Select a simple shape, like a sphere, and practice adding shading to give it a three-dimensional appearance. Pay attention to where the light source is and gradually blend the markers to create shadows and highlights.
- Blend Multiple Colors: Once you feel comfortable with basic blending, experiment with blending multiple colors. Try blending complementary or analogous colors and see how they interact. This will give you more control over your artwork and allow for more vibrant results.
Mastering marker blending techniques takes time and practice, but with the right tools and a solid understanding of color theory, you’ll be well on your way to creating stunning, professional-looking art. Whether you’re blending subtle gradients or vibrant color contrasts, blending will add depth, texture, and richness to your sketches. Keep experimenting, and don’t be afraid to push the boundaries of what markers can do!