Marker sketching is an exciting and versatile art form that allows artists to create stunning designs with vibrant colors, dynamic shapes, and a wide range of textures. Whether you’re a complete beginner or someone looking to refine your skills, marker sketching can be both enjoyable and rewarding. In this article, we will guide you through the basics of getting started with marker sketching, from selecting the right markers to mastering the first strokes.
Choosing the Right Markers for Your Style
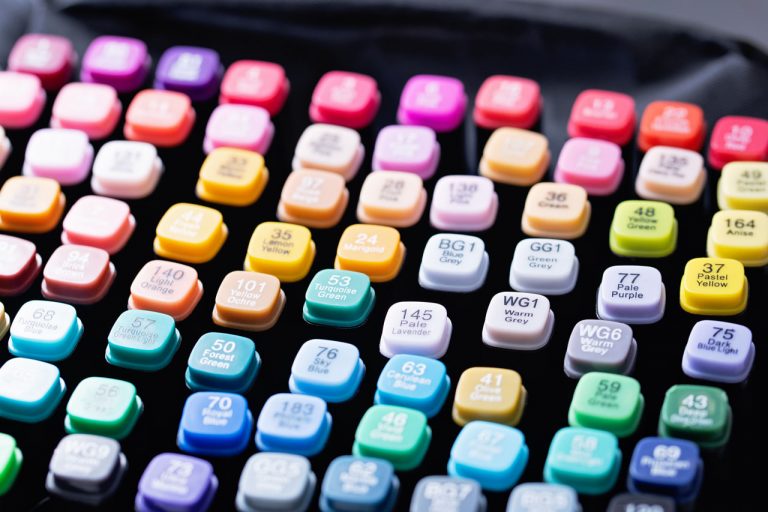
The first step in any sketching project is selecting the right materials. When it comes to markers, there are two main types: alcohol-based and water-based. Both have their unique qualities, and choosing the right one depends on your personal preferences and the style you want to achieve.
- Alcohol-based markers offer vibrant colors that blend well, making them ideal for achieving smooth gradients and shading. These markers are often used by professionals in illustration and design due to their durability and ease of use.
- Water-based markers, on the other hand, are perfect for those who prefer a softer, more controlled application. They are easier to manipulate with water, making them ideal for subtle blending and washes.
Start by experimenting with both types to determine which one suits your needs best.
Understanding the Basics of Sketching Techniques
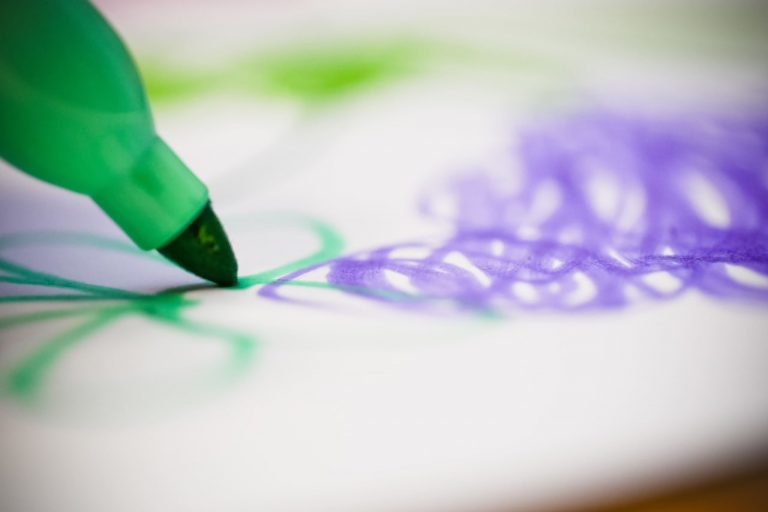
Marker sketching is all about layering and blending. Unlike traditional pencils, markers can be more challenging to erase, so it’s essential to plan your approach carefully. Start by sketching lightly with a pencil, and then build up layers of color gradually.
Here are a few basic techniques to get you started:
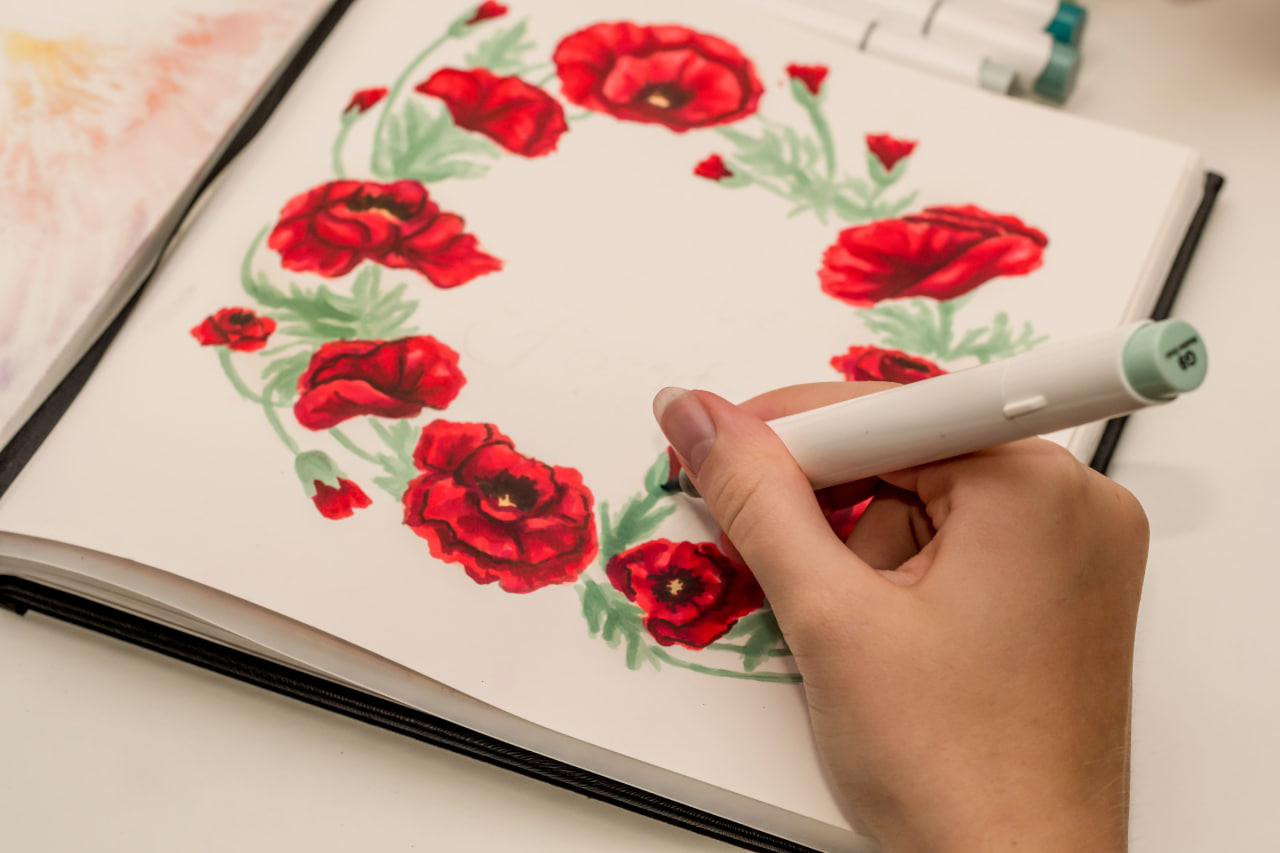
- Layering: Apply one layer of color, let it dry, and then build another layer on top. This will add depth and vibrancy to your artwork.
- Blending: Use a blending marker or a lighter color to blend harsh lines and create a smooth transition between colors.
- Dotting and Stippling: For texture, try using dots or small strokes to create patterns or shading. This can be particularly effective for creating shadows and details.
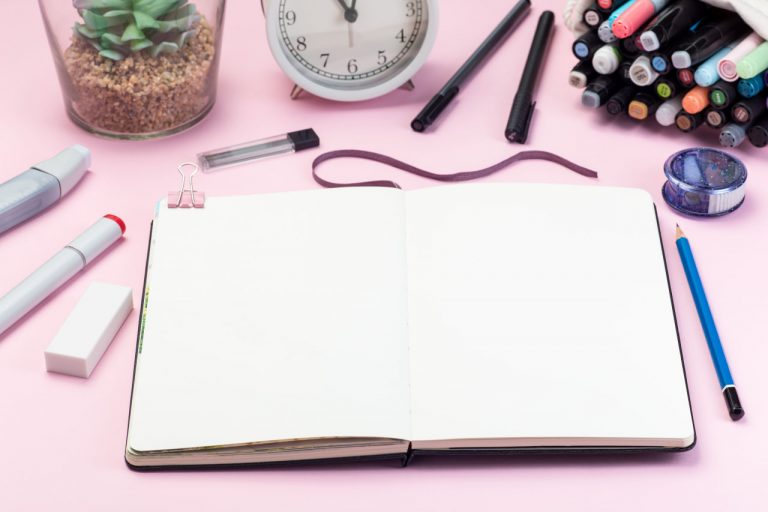
Tools You’ll Need to Start Sketching
Apart from markers, there are a few other tools you’ll need to enhance your sketching experience:
- Paper: Choose a smooth, thick paper designed specifically for markers to prevent bleeding and ensure that the ink doesn’t bleed through.
- Blending tools: These can be blending markers, a colorless blender, or a cotton swab for softening and mixing colors.
- Pencil and eraser: While you may not erase much, a pencil sketch provides a useful guideline before committing to the final lines with markers.
First Steps: Simple Sketching Exercises
If you’re just starting, begin by practicing basic shapes and lines. Draw simple objects, like fruits or geometric shapes, and experiment with adding layers of color. Try using gradients to create depth and highlighting areas with lighter shades. With practice, you’ll develop an understanding of how to control the markers and create more complex artwork.
Marker sketching is a fun, expressive art form that can lead to countless creative opportunities. With the right materials and techniques, you’ll be well on your way to creating beautiful artwork. Whether you’re sketching simple designs or intricate details, remember that practice is key. Take your time, experiment, and enjoy the process of creating with markers!